

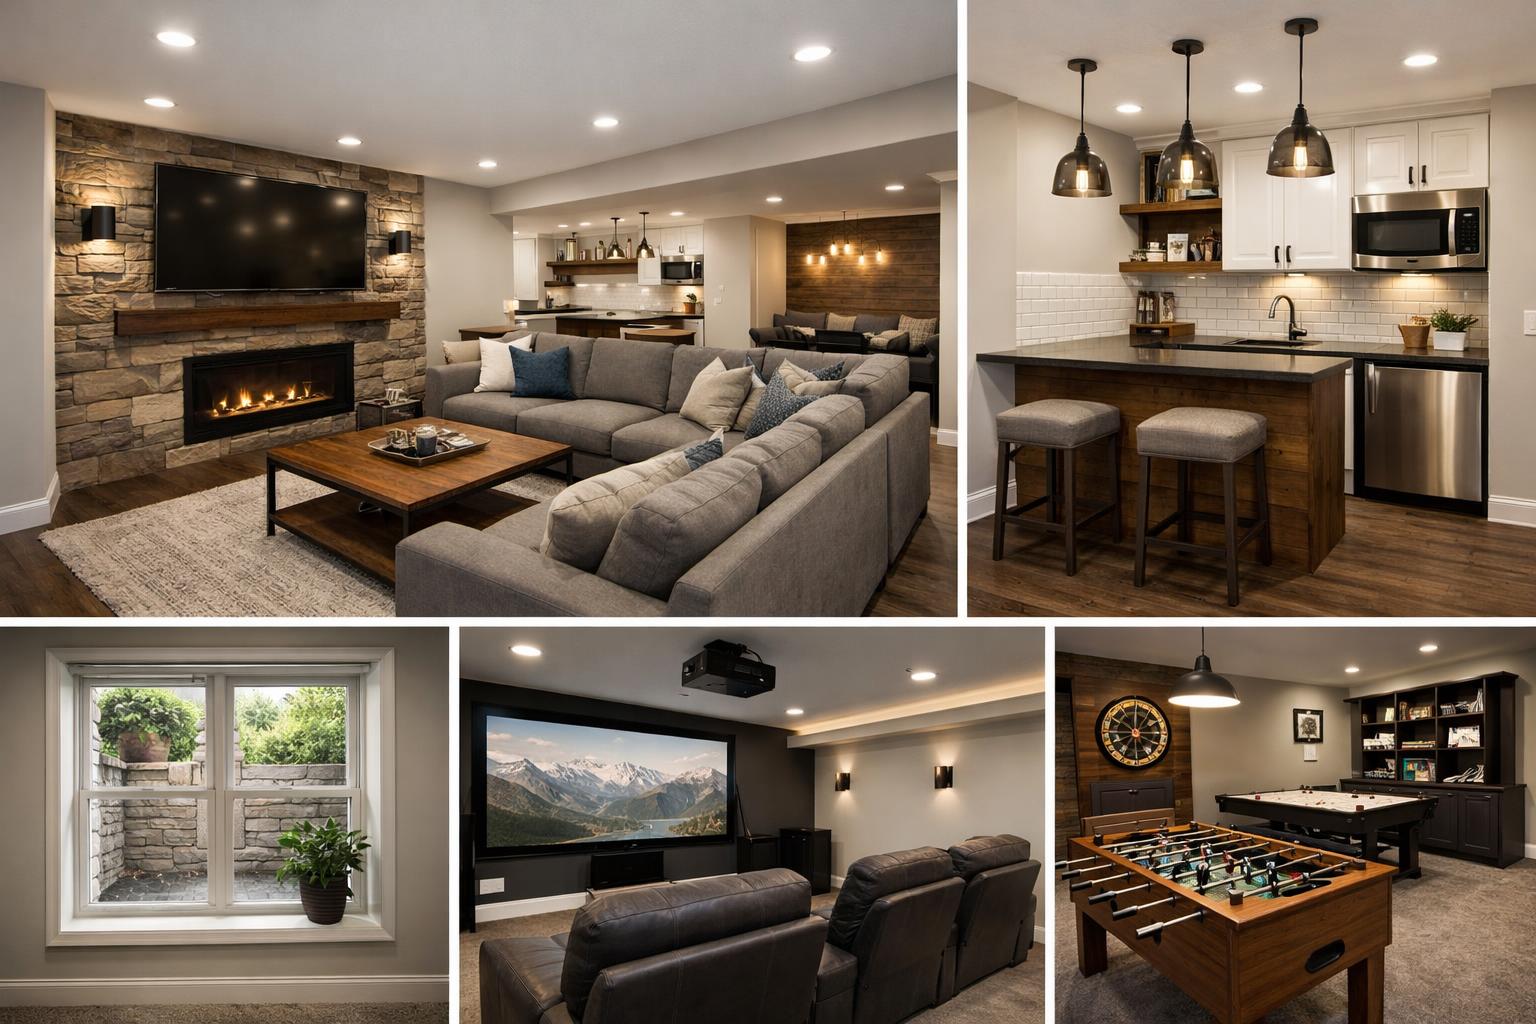
How to Evaluate Finished Basement Photos: Egress, Lighting, Sound, and Real-Use Zones
Finished basement photos should be evaluated for egress, lighting, comfort, sound, storage, and how well each zone supports real daily use.
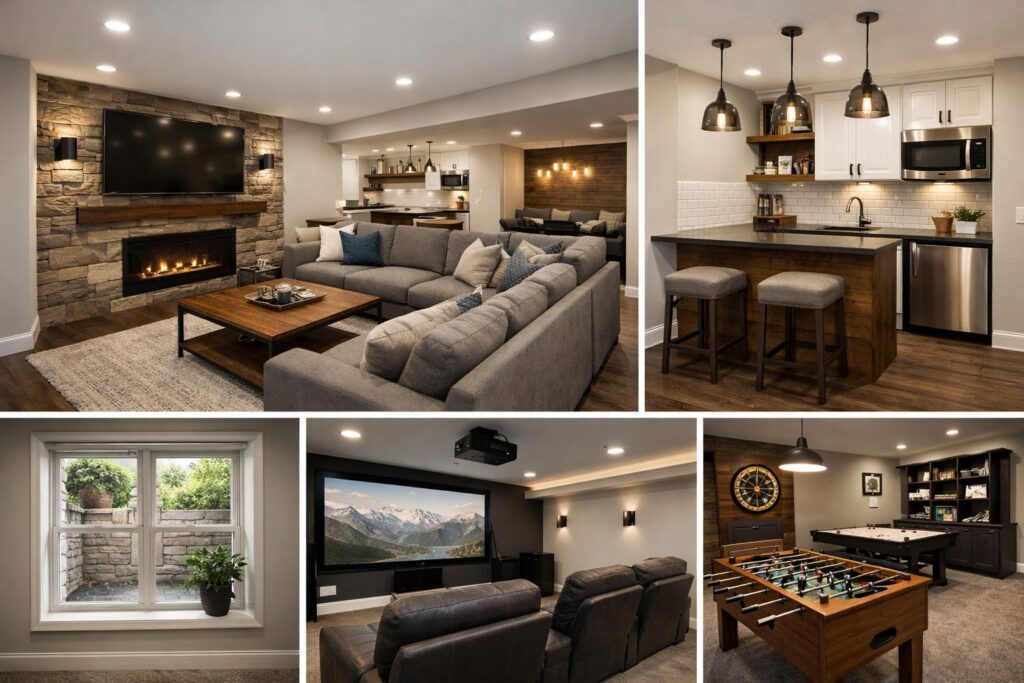
A finished-basement photo is useful only if it helps you understand how the lower level will be used, reached, lit, heated, cooled, and exited. A sectional sofa and a row of recessed lights can make a room look complete while leaving the hard questions—egress, moisture, radon, sound, mechanical access, and legal room use—outside the frame.
In Davis and Weber Counties, I would evaluate a basement from the perimeter inward. Start with windows, stairs, foundation walls, utilities, and mechanical equipment. Then place bedrooms, baths, storage, gathering areas, and flexible rooms around those realities. That is how a basement becomes part of your home instead of a collection of finished corners.
Windows, wells, doors, stairs, bedrooms, and circulation should be clear enough to discuss, not merely photograph.
Daylight, layered fixtures, HVAC delivery, returns, insulation, and controls shape how the level feels.
Mechanical rooms, plumbing, theater speakers, exercise equipment, bedrooms, and stairs need boundaries.
A playroom may become a study; a gym may become a guest space. Plan the future use before closing walls.
Start With the Basement Shell, Not the Furniture
In a portfolio, look for photos that reveal window locations, ceiling transitions, columns, beams, stairs, doors, and the edges of mechanical or storage areas. Those fixed conditions explain the plan. When every image faces the same finished feature wall, you cannot judge how the rooms connect.
Basements often contain the systems that serve the whole house. Electrical panels, water shutoffs, furnaces, water heaters, drains, cleanouts, sump equipment, ducts, and other components need working and service space. A door can make a mechanical room look tidy; it cannot show whether equipment is accessible, combustion and ventilation needs are met, or future replacement is possible. Ask for a plan view.
The Fortress Builders basement portfolio should help you identify room relationships and visible finish ideas. It should be the beginning of a planning conversation, not permission to copy a bar, theater, or bedroom into a different foundation.
Treat Egress and Room Use as Early Design Inputs
Do not label a finished room as a bedroom because it contains a bed. Sleeping-room requirements, emergency escape and rescue openings, smoke and carbon-monoxide alarms, ceiling conditions, heating, and other rules depend on the adopted code and local authority. Window wells, ladders or steps where required, grade, decks, and exterior obstructions also affect an opening. Verify the actual condition and jurisdiction.
Look at how a person reaches the window. A desk, headboard, built-in, or storage bench should not turn the emergency route into an obstacle course. Outside, landscaping, snow, security covers, and drainage around a window well are practical maintenance considerations. The photograph may show sunlight; the plan must show access and compliance.
Davis County’s building-permit guidance lists basement finishes and home remodels as work requiring permits in county jurisdiction. Cities within Davis and Weber Counties may administer their own processes. Before you price finish selections, confirm who reviews the address and what the proposed room uses require.
- Room names, dimensions, doors, windows, wells, stairs, and circulation.
- Mechanical, plumbing, electrical, storage, and required service access.
- Supply and return locations, thermostats or zones, and bathroom exhaust route.
- Ceiling heights, soffits, beams, bulkheads, and access panels.
- Lighting groups, switching, outlets, media wiring, and future-use provisions.
Read the Lighting Plan in Layers
Basement photography often uses supplemental light and careful exposure. Ask how the room performs at 7 a.m., during a movie, while a child does homework, or when someone walks downstairs at night. Daylight from an egress window is valuable but changes quickly with window-well depth, orientation, landscaping, and season.
General recessed light can make circulation visible. Task light belongs at desks, bars, game tables, craft areas, laundry, and kitchenette counters. Wall washers or accent light can help a lower ceiling feel intentional, but they should not substitute for useful illumination. Step and path lighting may support safer nighttime movement. Dimming and switching should follow zones so the entire basement does not have to operate as one bright room.
Ceiling layout should coordinate with ducts, beams, speakers, sprinklers if applicable, access points, and soffits. I would rather see a deliberate ceiling zone than a field of lights forced around everything discovered later. A reflected-ceiling plan turns those conflicts into decisions before drywall.
Sound Control Begins With Adjacencies
Materials help, but layout is the first sound-control tool. Place a mechanical room, bathroom plumbing wall, home theater, music area, or treadmill next to a bedroom and the assembly has to work harder. Put storage, a hall, or another less-sensitive zone between them and the plan gains a buffer.
Ask what kind of sound matters. Airborne voices and television, footfall and impact, plumbing flow, duct transfer, and equipment vibration do not behave the same way. Door type and seals, wall and ceiling assemblies, insulation, resilient components, penetrations, recessed fixtures, and shared ducts all influence performance. Exact recommendations should come from the specific layout and goals; a generic claim of “soundproof” is not a scope.
A theater also needs a plan for speaker locations, viewing distance, equipment ventilation, wiring, controls, light spill, and the route to a bathroom or snack area. A photo of a screen shows the focal point, not whether the room works when the rest of the house is asleep.
What you can assess
What remains to verify
Daylight, visible well, relationship to a room.
Opening operation, required dimensions, access, exterior clearance, drainage, and local approval.
Connections among seating, games, bar, and stairs.
Sound transfer, HVAC balance, outlet plan, furniture clearances, and flexible future use.
Visible soffits, fixture rhythm, and perceived height.
Access to valves and equipment, concealed conflicts, insulation, sound assembly, and service routes.
Counter, storage, seating, and appliance arrangement.
Plumbing, ventilation, circuits, appliance specs, cleanup, permits, and whether the use changes local requirements.
Create Real-Use Zones Instead of Leftover Corners
Give every zone a primary action and a support list. A family room needs seating, walking room, viewing, light control, outlets, side surfaces, storage, and a route to other rooms. A game table needs chair clearance on all sides and light centered on the actual table. A gym needs equipment dimensions, safe movement, ventilation, floor protection, mirrors if desired, and sound consideration.
Bars and kitchenettes should be planned around the intended level of use. A dry beverage counter has different plumbing, appliance, storage, cleanup, and code implications from a cooking space. Decide whether the area serves popcorn and drinks, daily meals, guests, or a potential separate household. Do not let a portfolio label blur those differences.
Storage must remain part of the square footage conversation. Seasonal items, luggage, holiday decor, bulk goods, toys, media equipment, linens, and household supplies do not disappear when a basement is finished. Built-ins can use awkward areas, but a real storage room may be more flexible and economical than turning every object into custom cabinetry.
I also recommend naming a second use for rooms likely to change. A playroom may become homework space, then a guest or hobby room. A bedroom may need to serve as an office. Plan doors, light, power, storage, and acoustic separation so the next use does not require undoing the finish.
Moisture and Radon Belong Before the Finish Schedule
A finished wall can hide a foundation stain; it cannot solve the source. Review past water entry, grading, downspouts, window wells, plumbing leaks, sump conditions, cracks, efflorescence, humidity, and any history of damp materials before covering the perimeter. The correct response depends on the source and condition. Avoid promises based only on a dry inspection day.
Radon cannot be seen in a photograph. The EPA explains that levels are often highest in the lowest occupied part of a building and recommends testing. Its guidance also says that if living patterns change and a lower level becomes occupied, the home should be retested on that level. Use the EPA’s radon retesting guidance as a planning prompt, then coordinate measurement or mitigation with qualified professionals as needed.
Mechanical comfort is equally invisible. A basement can be cooler in summer and feel cold underfoot in winter. Room use, insulation, air sealing, supply and return design, thermostat strategy, glazing, floor assemblies, and existing equipment all affect comfort. A portable heater in the photograph is not a mechanical plan.
Source basis: Davis County identifies basement finishing as permitted work in its jurisdiction, while EPA guidance says the lowest occupied level is an important location for radon testing and recommends retesting when a basement becomes occupied. Those sources support planning life-safety, approvals, air quality, and moisture before finish selections.
Look for Finish Details That Make a Lower Level Feel Connected
A basement does not need to copy the main floor, but it should feel related. Repeat a controlled set of cues: door and trim profiles, hardware family, flooring undertone, cabinet language, or lighting color. At the stair, show how rails, treads, walls, and floor transitions connect the levels. A sudden change at the bottom step can make the basement feel like a separate project.
Durability should follow the zone. Entry from a walkout, exercise equipment, a wet bar, a play area, and a quiet guest room place different demands on the floor and walls. Ask for exact care, installation, moisture, and warranty documents for selected products. “Basement friendly” is marketing shorthand, not a substitute for matching a material to the assembly and conditions.
Finally, examine access panels, utility doors, registers, outlets, and transitions. Good finish work integrates necessary components without pretending they do not exist. A serviceable home is better than a perfect photograph that requires damage to reach a shutoff.
Compare several room types in the Fortress Builders portfolio and note how stairs, doors, floors, lighting, and cabinetry carry from one level to another. The useful lesson is the relationship among details, not the idea that a basement must repeat every finish upstairs.
Frequently Asked Questions
Can a staged bedroom photo prove the room is a legal bedroom?
No. Verify emergency escape and rescue provisions, alarms, ceiling and room conditions, heating, permits, and all requirements with the authority governing the address.
How can I judge basement lighting from photos?
Look for daylight, task light, general light, and separate controls, but ask for the reflected-ceiling and switching plan. Photography exposure can make a space appear brighter than normal use.
What should I ask about sound?
Name the source and the room that needs protection. Then discuss layout buffers, wall and ceiling assemblies, doors, ducts, penetrations, plumbing, speakers, and equipment vibration.
When should radon and moisture be considered?
Before walls and floors conceal the relevant conditions. Testing, source investigation, and any needed professional recommendations should inform the scope rather than become a final-walkthrough surprise.
Can your basement plan explain how every zone works?
Ready to talk through scope and timeline? A design consult is the right first step. Bring your basement photos and must-have rooms; I will help you test them against the windows, stairs, systems, storage, and routines in your Davis or Weber County home.