

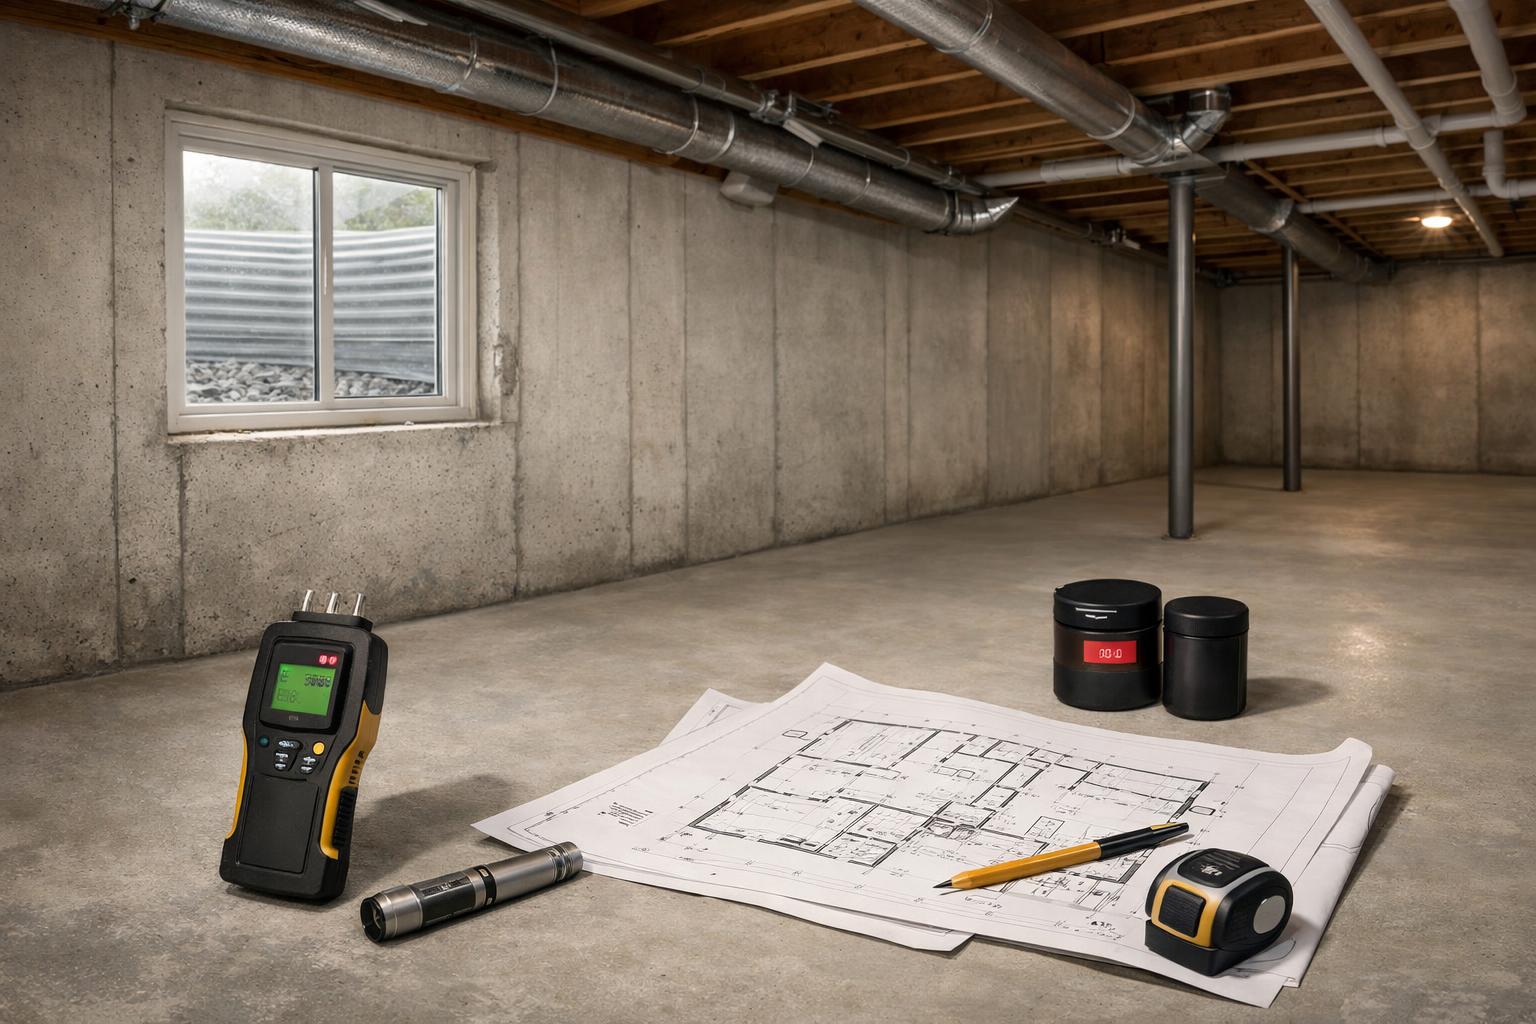
Basement Moisture, Radon, and Drainage: What to Check Before Finishing a Utah Basement
Before finishing a Utah basement, check moisture, drainage, radon, cracks, window wells, and protection systems so the remodel starts from a safe foundation.
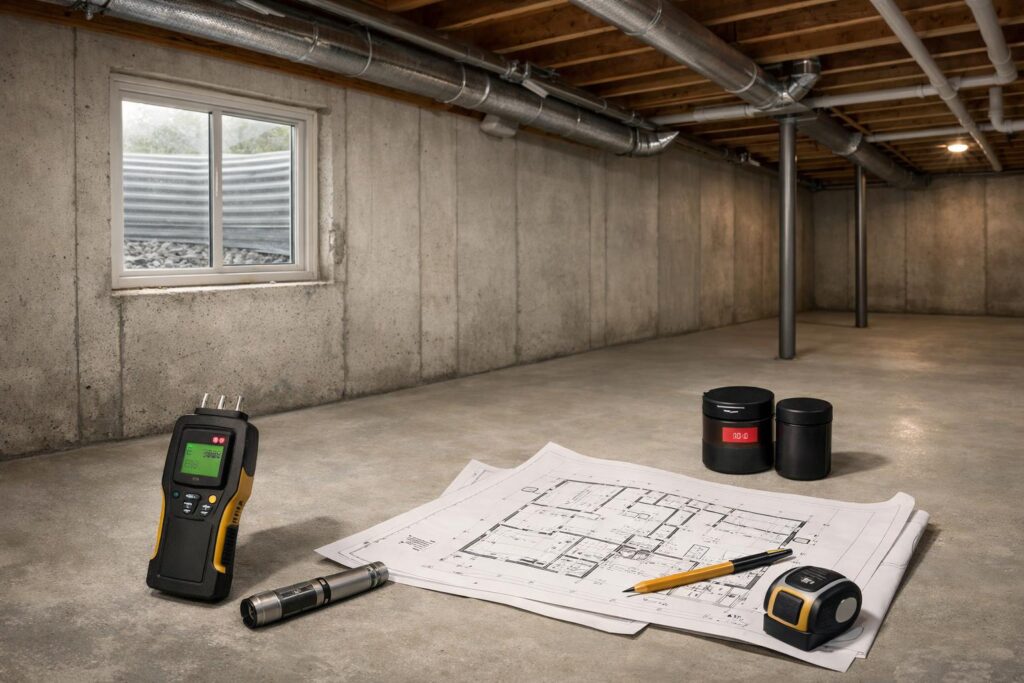
Not until you have tested, documented, and reviewed the conditions that the new walls and flooring will cover. In Davis and Weber Counties, smart basement moisture and radon planning starts before framing: test the actual home for radon, record moisture clues, inspect visible drainage and plumbing conditions, preserve access, and have qualified specialists evaluate anything unexplained.
This is not about assuming every Utah basement has a problem. It is about protecting the remodel from avoidable uncertainty. Drywall, cabinets, storage, and finished flooring can make a basement more useful, but they can also make an unresolved condition harder to see and harder to reach.
A map color, county label, foundation type, or neighbor’s result cannot replace a test in your basement.
Photograph stains, cracks, odors, damp spots, window wells, and plumbing conditions without assigning a cause.
Mechanical equipment, valves, cleanouts, drains, and mitigation pathways should remain part of the finish plan.
Qualified specialists should address radon, moisture, drainage, plumbing, or foundation findings before surfaces hide them.
- What you can observe: a stain, odor, crack, damp area, drain, window-well condition, or test result.
- What still needs evaluation: the cause, severity, repair, mitigation design, and whether the planned finish must change.
- What must be documented: photos, dates, weather or plumbing context, test records, specialist findings, completed work, and remaining access.
Why Should Protection Work Come Before Framing and Finishes?
Framing turns an open basement into rooms. That is exciting because the plan finally becomes visible. It is also the point when concrete walls, slab edges, foundation penetrations, rim and sill areas, portions of plumbing, and drainage clues begin to disappear behind assemblies.
I’d recommend using that open stage deliberately. Walk every exterior wall. Look around windows and window wells. Follow visible plumbing. Note floor drains, sump or drainage features if present, mechanical equipment, utility penetrations, cracks, stains, deposits, odors, and any area that feels or looks different from the rest.
Do not diagnose what you see. A dry-looking crack does not prove that it is harmless. A white deposit does not by itself establish the source. A dark mark does not automatically mean mold. An odor does not identify a cause. The useful first step is accurate documentation followed by the right professional review.
This order protects the clear scope. If a qualified evaluation changes a wall location, floor assembly, drainage plan, mechanical access, storage zone, or framing detail, you want that information before material is ordered and before a finished room depends on the original assumption.
The Fortress Builders moisture-management planning page organizes the review around visible clues, cracks, window wells, grading, plumbing leaks, radon, flooring and wall details, drainage questions, and access to systems. Use those categories as a homeowner walk-through, not as a substitute for diagnosis.
Which Moisture Clues Should You Document Before Walls Go Up?
Start with a simple record of the condition. Take wide photos that show location, then closer photos that show the visible detail. Mark the date. Note whether the area appeared after rain, snowmelt, irrigation, a plumbing event, appliance use, a shower, or no obvious trigger. That context may help a qualified specialist, but it does not prove causation.
Document stains, water marks, paint changes, deposits, peeling or damaged surfaces, odors, damp spots, condensation, rust, warped stored materials, and recurring humidity. Include the lower portions of walls, corners, slab edges, areas below plumbing, and spaces near the mechanical room.
Look up as well as down. Plumbing and duct routes above the future ceiling can produce clues that are easy to blame on the foundation. A basement finish should not begin with the assumption that every moisture concern comes through concrete. The source could involve exterior drainage, plumbing, condensation, ventilation, equipment, or another condition that needs professional evaluation.
Move stored boxes and furniture away from walls long enough to see the surfaces. Do not conceal the exact places that need review. If the basement has been recently cleaned, painted, or dried, ask what happened before that work and whether any records or photos exist.
A moisture meter may be one tool a qualified person uses, but a device reading is not a diagnosis on its own. The same caution applies to visual checks. Use the evidence to ask better questions, not to declare the basement dry, healthy, protected, or ready to finish.
How Should Humidity and Everyday Water Use Enter the Plan?
Not every moisture concern arrives as visible water on the floor. A basement can also experience changing humidity, condensation, laundry moisture, bathroom steam, cooking moisture from a kitchenette, or equipment-related conditions. Those patterns deserve a place in the pre-finish record.
Write down when the basement feels damp or smells different. Note whether the observation changes with seasons, weather, closed windows, laundry use, showers, cooking, or HVAC operation. A pattern can help the project team decide what to investigate, but it still does not prove the source.
The EPA’s homeowner mold and moisture guide states a useful principle: the key to mold control is moisture control. For a basement remodel, that means the planning conversation should focus on identifying and addressing the moisture source rather than hiding a surface with paint, panels, flooring, or storage.
Bathroom and kitchenette plans can change the moisture load inside the basement. Review where exhaust will terminate, how the room will be controlled, how air moves when doors are closed, and how the HVAC system relates to the new rooms. Final fan, duct, airflow, electrical, and equipment specifications require qualified design and local verification.
Laundry areas deserve the same attention. Record supply and drain conditions, visible vent routes, appliance information, floor conditions, and access. Do not move from “the laundry has been here for years” to “the finished wall can safely conceal everything.” The remodel changes access, room boundaries, and how quickly a future issue may be noticed.
If you use a portable humidity monitor, treat its readings as part of the record rather than a complete diagnosis. Note location, date, weather, room use, and repeated conditions. A single reading should not be used to certify the space or select a permanent assembly.
What this means for you is simple: plan the finished basement around real daily moisture behavior. A guest shower, wet bar, laundry room, closed bedroom, and mechanical space do not affect the basement in the same way. The layout, ventilation, HVAC, finishes, and access should be coordinated before drywall.
Safe conclusion: a visible condition should be photographed, dated, and evaluated.
Unsafe leap: naming groundwater, a plumbing leak, condensation, mold, or a solved problem without evidence.
Safe conclusion: record location, appearance, and change over time when known.
Unsafe leap: declaring it structural, cosmetic, stable, leaking, repaired, or safe to cover.
Safe conclusion: regional information supports awareness.
Unsafe leap: predicting the concentration in your home or skipping an actual test.
Safe conclusion: it records conditions at that moment.
Unsafe leap: assuming the basement stays dry through other seasons, weather, irrigation, or plumbing use.
Safe conclusion: the finish can be considered after the substrate and environment are reviewed.
Unsafe leap: claiming one coating, floor, membrane, or wall detail permanently solves moisture.
What Should You Check Around Window Wells, Grading, Cracks, Drains, and Plumbing?
Walk the exterior and interior as one system. The basement wall does not stop at the drywall line.
At window wells, document debris, visible drainage features, covers if present, damage, staining, soil height, and signs that water may have collected. Do not prescribe a repair from the article. The goal is to make the well visible in the planning record and ask whether a specialist needs to evaluate it before interior finishes surround the opening.
Outside, observe the ground near the foundation and where roof water or downspouts discharge. Official EPA homeowner guidance includes repairing leaks and directing exterior water away from the foundation as basic moisture-control principles. The project-specific grading or drainage correction, if any, must come from qualified professionals who can see the property.
Inside, photograph visible cracks and penetrations. Include where utilities pass through foundation surfaces. Note any changes in color, texture, deposits, or odor nearby. Do not fill, coat, frame over, or label the condition resolved simply because it is currently dry.
Review plumbing supply and drain lines, shutoffs, cleanouts, water-using equipment, laundry connections, and the mechanical room. Look for visible corrosion, staining, damaged materials, active drips, or records of past repairs. A qualified plumber or appropriate specialist should evaluate concerns and the effect of the planned remodel.
Document floor drains, sump or drainage components if present, and the access they require. Do not promise that an existing system is adequate, operational, or appropriate for future conditions. The finished layout should preserve required service and inspection access rather than boxing equipment behind permanent storage.
Outside the foundation
Record grading, downspout discharge, window wells, irrigation context, penetrations, and visible changes. Refer design or repair to qualified specialists.
On the foundation surfaces
Photograph cracks, stains, deposits, damaged coatings, penetrations, and recurring marks without naming the cause.
At plumbing and equipment
Review visible lines, valves, drains, cleanouts, appliances, mechanical equipment, and the path needed for future service.
In the planned rooms
Ask how any finding changes walls, floors, cabinetry, storage, bedrooms, bathrooms, and access before the layout is approved.
What Does Radon Testing in the Actual Utah Home Tell You That a Map Cannot?
Radon is the clearest place to avoid prediction. The correct question is not, “Is my neighborhood high?” It is, “What does a test in this home show?”
Utah Environmental Public Health Tracking tells homeowners that testing is inexpensive and easy, and it points to federal action guidance at 4.0 pCi/L or higher. The state message supports testing the home before a basement finish covers surfaces and commits the room plan.
The U.S. EPA radon-zone map guidance is equally direct about its limit: the map should not determine whether an individual home is tested. EPA advises testing every home. It also says to fix a home at 4 pCi/L or higher and to consider fixing between 2 and 4 pCi/L.
Use those numbers only as federal action guidance. They do not predict your result, select a mitigation system, or establish that a proposed system will work. If testing indicates a concern, involve a qualified radon professional to interpret the result, confirm next steps, and coordinate any mitigation planning with the basement layout.
Timing matters because mitigation pathways, equipment locations, electrical needs, discharge routes, and access can affect framing, ceilings, storage, and the mechanical area. The article should not prescribe those details. It should make sure they enter the design conversation before the finish plan closes off options.
Keep the test record and any professional documentation with the home records. A future homeowner, remodeler, inspector, or service professional benefits from knowing what was tested, when, what work was completed, and where components are located.
Source basis: Utah public-health guidance and EPA radon guidance support testing the actual home rather than predicting from a map. EPA’s homeowner mold guide states that moisture control is the key to mold control. Davis County’s official permit guidance provides the local reminder that basement finishes and trade-system changes may require review by the county or the responsible municipality. None of these sources diagnoses an individual basement.
How Can Findings Change Flooring, Walls, Storage, and Mechanical Access?
A finding does not always mean the basement plan ends. It means the plan must respond honestly.
Flooring should not be selected as though the below-grade environment has already been cleared. The slab condition, moisture history, drainage questions, planned use, comfort goals, product requirements, and any specialist recommendations can affect the assembly. Do not promise that one flooring type is waterproof or universally safe for every basement.
Wall locations may need to preserve access, allow a repair or mitigation route, avoid concealing a condition, or keep a clear relationship to foundation surfaces. Insulation, air sealing, vapor control, and finish details are project-specific; they should be designed by qualified professionals using the actual building and selected systems.
Storage is easy to push against exterior walls because those edges look like unused space. Before doing that, ask whether the wall, window well, cleanout, valve, drain, test location, or mitigation component needs visibility or service. A floor-to-ceiling storage wall can make a basement look organized while blocking the very area that should remain observable.
Mechanical access should be treated as a room function, not leftover square footage. Equipment, filters, panels, shutoffs, pumps, drains, radon components, and other systems may need working and service space. Do not reduce that space from a drawing without qualified review.
Document concealed work before drywall and flooring. Take organized photographs with location context. Keep product information, specialist reports, permits where applicable, and completed-work records. Documentation does not guarantee performance. It gives the next person a clearer map of the home.
When Should Qualified Specialists Become Part of the Plan?
Bring in the appropriate professional when the question moves beyond observation.
A radon result needs interpretation and mitigation planning where indicated. Moisture, drainage, plumbing, foundation, mold, indoor-air, grading, or structural concerns may require different specialists. A remodeler can coordinate the scope, but should not turn one person’s visual impression into a universal diagnosis.
Do not wait until finish selections are ordered if the specialist’s findings could change walls, floors, windows, mechanical space, electrical work, plumbing, or access. The purpose of early review is to keep the design honest and reduce the chance that the finished plan is built around an unresolved assumption.
Jurisdiction questions belong to the responsible city or county. Davis County says basement finishes and plumbing, electrical, mechanical, and gas work can require permits in its jurisdiction, and it notes that properties inside municipalities may be handled by those cities. Confirm the authority for the address and the current scope before work begins.
Ask each specialist to be clear about what was observed, what was tested, what remains unknown, what work is recommended, what must stay accessible, and how the finding affects the proposed finish. That makes the information useful to the full project team.
What Belongs on a Pre-Finish Basement Protection Checklist?
- Test the actual home for radon. Do not substitute the EPA map, a county label, or a neighbor’s result.
- Photograph every visible condition. Include stains, cracks, deposits, odors, damp spots, plumbing, drains, window wells, and mechanical areas.
- Add timing and context. Record weather, snowmelt, irrigation, plumbing use, appliance use, and recurrence without claiming a cause.
- Walk the exterior. Document grading, downspouts, drainage features, window wells, and foundation penetrations.
- Review plumbing and equipment. Keep valves, cleanouts, drains, panels, pumps, mechanical equipment, and service routes visible.
- Refer unexplained conditions. Use qualified radon, moisture, drainage, plumbing, foundation, or indoor-air professionals as appropriate.
- Resolve and document recommended work. Keep reports, test records, photographs, product information, and completion records.
- Revisit the layout. Change framing, floors, walls, storage, bathrooms, or mechanical access when verified findings require it.
- Confirm permit responsibility. Check the correct city or county when the work changes building or trade systems.
- Approve finishes last. Select flooring, wall systems, cabinets, and storage after the underlying review is complete.
The broader basement finishing plan should connect these protection decisions to the room layout, HVAC, lighting, plumbing, sound, and future use. Moisture and radon are not separate paperwork items. They can affect where the rooms go and what remains accessible.
Use the Fortress Builders portfolio to discuss visible layouts and finishes, but remember that a finished photograph cannot verify a basement’s moisture history, radon result, drainage, concealed repairs, or permit status.
Before approval, walk the basement once more with the room plan in hand. Every covered wall, floor edge, window, drain, valve, and service point should have a documented reason for its final treatment.
Frequently Asked Questions
Should every Utah basement be tested for radon?
EPA advises testing every home, and Utah public-health guidance encourages home testing. A map or nearby result cannot tell you the concentration in your home.
What radon level does EPA use for action guidance?
EPA says to fix a home at 4 pCi/L or higher and to consider fixing between 2 and 4 pCi/L. A qualified radon professional should guide project-specific mitigation.
Can the EPA map tell me whether my basement has high radon?
No. EPA says the zone map should not determine whether an individual home is tested. Test the actual home.
Does a white deposit or stain prove a serious leak?
No single visual clue establishes the cause or severity. Photograph it, record when it appears, and have the appropriate specialist evaluate it before covering the area.
Should I finish over a crack that appears dry?
Do not use one dry observation as a diagnosis. Document the crack and obtain qualified evaluation appropriate to its location, history, and the proposed work.
Who should evaluate moisture or drainage concerns?
The right professional depends on the concern and may include radon, drainage, plumbing, foundation, mold, indoor-air, or other qualified specialists. The remodeler should coordinate verified findings into the scope.
What will the new walls and floors cover—and has it been tested and documented?
Ask Fortress Builders what should be inspected, tested, documented, and resolved before your Davis or Weber County basement is framed. Test for radon and record moisture, drainage, crack, plumbing, and window-well concerns before selections. Ready to talk through scope and timeline? A design consult is the right first step.