
Backsplash Height Guide: 4-Inch, Full Height, or Up to the Cabinets?
A well-planned kitchen remodel saves time, money, and daily frustration. Backsplash height seems like a small decision until you realize it affects wall protection, cleaning effort, countertop transitions, outlet placement, visual balance, and how finished the entire kitchen feels.
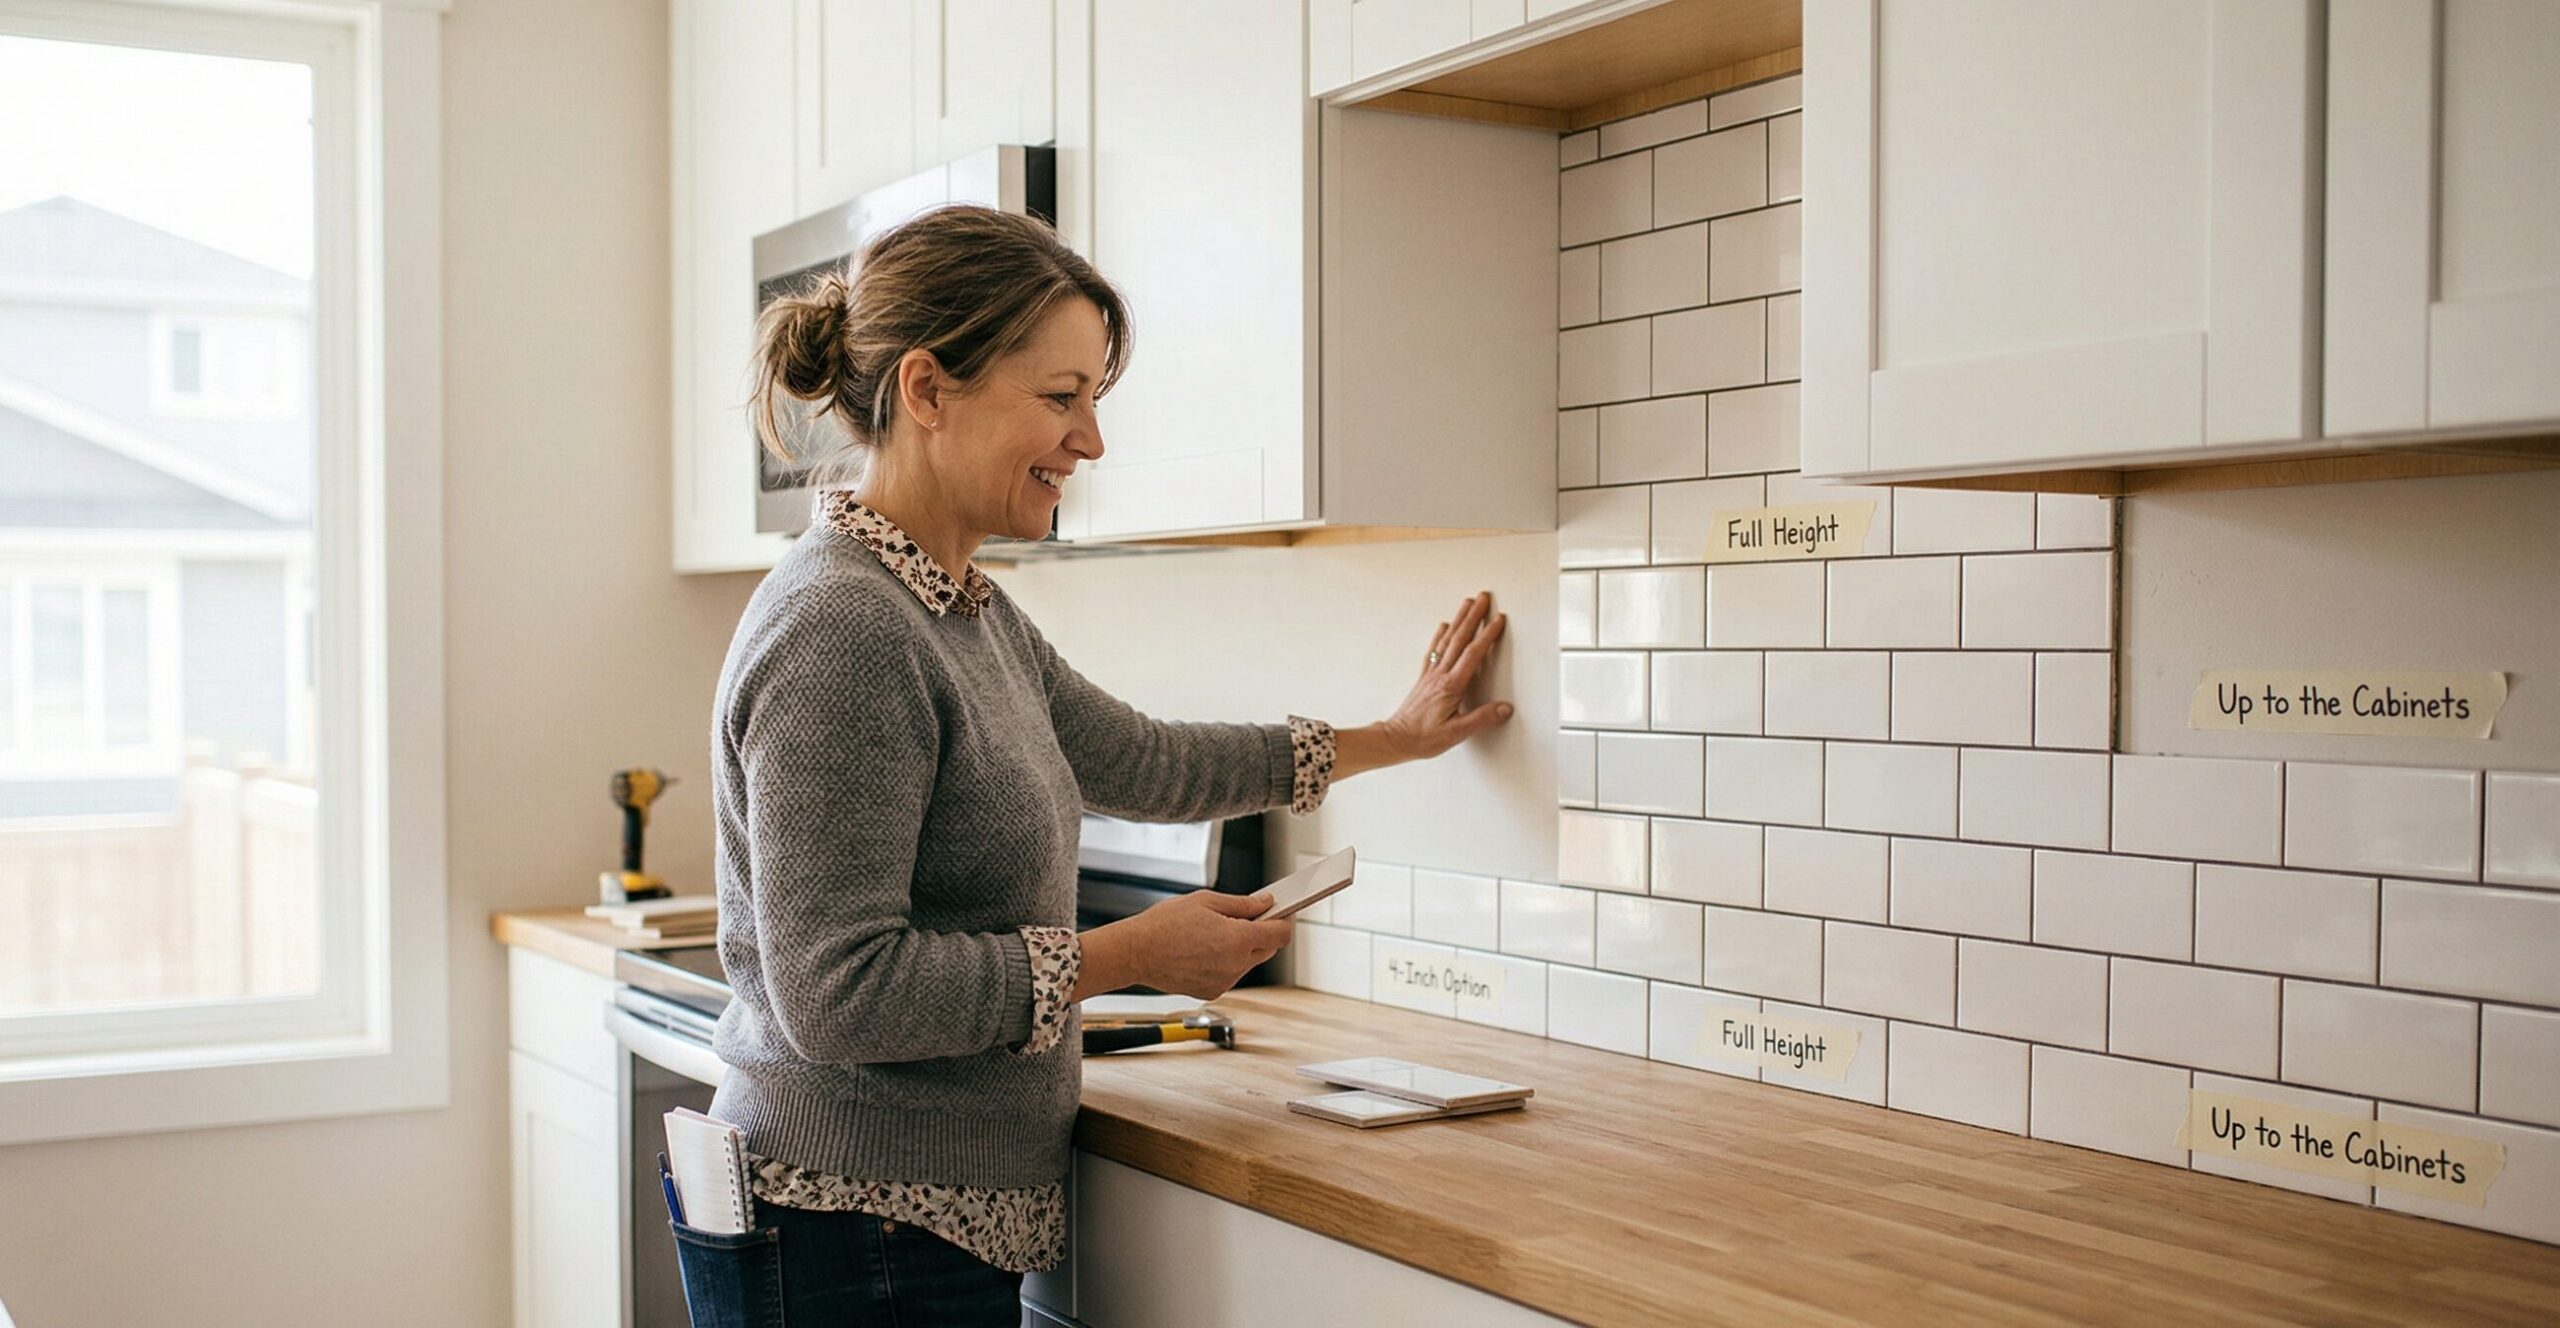
Many homeowners get stuck between three common options: a short 4-inch backsplash, a full-height backsplash, or tile run all the way up to the bottom of the upper cabinets. Each can work, but the right choice depends on your cabinet layout, countertop material, budget, maintenance preferences, and the overall look you want from your kitchen remodel.
In this homeowner-friendly guide, you’ll learn:
- what each backsplash height really means in practice,
- how to compare durability, cleaning, cost, and style,
- where height decisions matter most around ranges, windows, and open walls,
- how countertop, sink, and cabinet choices affect the best backsplash height,
- and what to confirm before ordering tile, slab material, or countertop splashes.
The Fortress Builders is a Utah design–build company built on the principle of strength through structure. That means decisions like backsplash height are not treated as afterthoughts. They are coordinated with cabinet design, countertop selection, lighting, electrical, and installation sequencing so the finished kitchen feels intentional from every angle.
Helpful internal pages while you plan:
Why backsplash height matters more than most homeowners expect
Backsplashes do more than decorate the wall between your countertop and cabinets. They protect drywall from water, grease, food splatter, and the wear that builds up in real kitchens over time. They also create one of the strongest horizontal visual lines in the room, which means the height you choose has a big impact on whether the kitchen looks modern, builder-basic, timeless, or unfinished.
When homeowners decide too quickly, they often focus only on tile style. But backsplash height affects several practical issues at once:
- Wall protection: more coverage usually means better protection in splash-prone zones.
- Cleaning: grout lines, seams, and exposed painted drywall all change maintenance.
- Budget: taller backsplashes mean more material and labor, but they can also reduce the need for painted wall touch-ups later.
- Visual continuity: the wrong stopping point can make cabinets and counters look chopped up.
- Installation coordination: outlets, under-cabinet lighting, cabinet alignment, and countertop templating all connect to backsplash planning.
Homeowner takeaway: backsplash height is not just a style decision. It is a function, maintenance, and finish-quality decision. The best choice is the one that works with your cabinet layout, countertop material, and daily cooking habits.
The three most common backsplash height options
Most kitchen remodels land in one of three categories. Understanding the differences clearly makes the decision easier.
1) The 4-inch backsplash
A 4-inch backsplash is a short strip, often made from the same countertop material, installed directly above the counter. It was especially common in many older kitchens and spec builds because it is simple, inexpensive, and easy to coordinate with laminate, granite, or quartz counters.
It can still make sense in some situations, especially where the wall above will be painted and the kitchen style is intentionally more traditional or budget-focused. But in many current remodels, homeowners feel it looks dated compared with tile or slab installed higher on the wall.
2) Full-height backsplash
“Full height” usually means the backsplash material runs from the countertop all the way up to a natural stopping point such as upper cabinets, a hood feature wall, a shelf line, or even the ceiling in select areas. In some kitchens, this means tile or slab only fills the space beneath the uppers. In others, especially behind a range, it continues much higher for a dramatic focal point.
Full-height backsplashes are popular because they feel intentional, give better protection, and create a more custom, finished look.
3) Up to the cabinets
This option is often the default in modern kitchen design. Tile or slab starts at the countertop and runs continuously up to the underside of the upper cabinets. It fills the working wall area without stopping at a low horizontal band, and it tends to look cleaner than a short splash.
For many kitchens, this is the sweet spot: more modern than a 4-inch splash, less expensive than taking every wall to the ceiling, and highly practical where food prep and cleanup happen every day.
Quick definition guide
- 4-inch backsplash: short strip, often same material as countertop.
- Up to the cabinets: backsplash fills the wall area between countertop and upper cabinets.
- Full height: backsplash extends to a taller visual endpoint, such as around a hood wall or to the ceiling in select zones.
Important note: homeowners and even vendors sometimes use “full height” loosely. Always confirm exactly where the backsplash starts and stops before materials are ordered.
Is a 4-inch backsplash ever the right choice?
Yes, but it works best when it is chosen intentionally rather than by default.
A 4-inch backsplash can be practical when:
- you want the lowest-cost option,
- you prefer a simpler or more traditional look,
- the wall above will be a durable, washable paint finish,
- your kitchen has few splash-heavy zones,
- or the countertop material itself is the design feature and you do not want more visual pattern above it.
That said, many homeowners replacing older kitchens move away from the 4-inch splash because it often reads as a leftover detail from a previous era of remodels. It also leaves a lot of painted wall exposed in the exact areas where steam, grease, and splatter are most common.
Pros of a 4-inch backsplash
- Lower material cost: less tile or slab means lower immediate spend.
- Simpler installation: especially when it is cut from the countertop slab.
- Minimal visual activity: useful if you want quiet walls.
- Works in some traditional kitchens: particularly when paired with classic profiles and painted walls.
Cons of a 4-inch backsplash
- Less wall protection: especially near the sink and range.
- Can look dated: many current remodels skip it in favor of a cleaner full-wall treatment.
- More painted drywall to maintain: which can show splashes and wear faster.
- May feel incomplete: particularly under upper cabinets where a taller backsplash usually looks more intentional.
Why “up to the cabinets” is often the safest all-around choice
If you want one backsplash height recommendation that works in a wide range of kitchens, this is often it. Running the backsplash up to the bottom of the upper cabinets protects the working wall, looks current, and usually balances cost with appearance better than either extreme.
This height works especially well when:
- you have standard upper cabinets over the counter run,
- you want a clean and finished transition below under-cabinet lighting,
- you want more protection than a 4-inch splash,
- you prefer a kitchen that feels updated but not overly dramatic,
- or you want flexibility in tile shape, pattern, and texture.
It also tends to be easier to justify in everyday use. The wall area under upper cabinets sees frequent splashes from prep, coffee making, hand washing, and cooking. Covering that full zone usually makes the kitchen easier to clean and maintain.
What homeowners like about this height
- Balanced appearance: not too minimal, not too overwhelming.
- Better protection: all working-wall surfaces are covered.
- Good design flexibility: works with tile, slab, zellige, porcelain, ceramic, and more.
- Strong value for the spend: noticeable upgrade without necessarily taking every wall higher.
Good rule of thumb: if your kitchen has upper cabinets over most of the counter run and you want a timeless, practical solution, backsplash up to the cabinets is often the most reliable place to start.
When full-height backsplash makes the most sense
Full-height backsplash is where the look becomes more architectural. Instead of simply protecting the counter wall, it becomes part of the room’s design composition. This is common behind a range and hood, on open walls without upper cabinets, or when the same slab used on the countertop continues vertically for a seamless, high-end finish.
Full height can be especially compelling when:
- you have a statement range wall,
- you are using a slab or large-format material with minimal joints,
- the kitchen has fewer upper cabinets and more open wall space,
- you want the room to feel taller and more custom,
- or you are trying to simplify visual clutter by reducing breaks and transitions.
Pros of full-height backsplash
- Strong visual impact: it can make a kitchen feel larger, more tailored, and more polished.
- Excellent wall protection: especially behind ranges and prep zones.
- Cleaner appearance with slab materials: fewer grout lines and fewer horizontal interruptions.
- Great for focal walls: especially where the hood or open shelving creates a feature area.
Things to think through before choosing full height
- Higher material cost: you are simply covering more square footage.
- More installation coordination: especially with slab layout, seams, and outlet planning.
- Greater design commitment: the material becomes a major part of the room, not a subtle background element.
- Pattern control matters: busy tile or high-contrast grout can feel overwhelming when used on a full wall.
How countertop selection should influence backsplash height
Countertops and backsplashes should be planned together. One of the most common remodel mistakes is choosing the countertop first, then selecting backsplash height and material in isolation. In reality, these surfaces meet at one of the most visible lines in the room.
Ask these questions before you decide:
Do you want the countertop material to continue up the wall?
If yes, a full-height slab backsplash or a slab splash up to the cabinets may make sense. This creates a seamless look and can reduce grout maintenance. It is especially popular with quartz, porcelain, and natural stone when the slab pattern is attractive and consistent.
Does the countertop already have a lot of movement?
If your countertop has strong veining, dramatic pattern, or high color variation, the backsplash may need to be quieter. In many cases, that points toward a simpler tile up to the cabinets or a slab backsplash with minimal seams rather than adding another busy material.
Are you trying to reduce maintenance?
Slab backsplashes have fewer joints and are easier to wipe down than heavily grouted small-format tile. That does not mean tile is a bad choice, but it does mean grout upkeep should be part of the decision.
For a broader surface-planning perspective, see Cabinets and Countertops: Transforming Your Kitchen with the Right Choices and Quartz vs. Granite vs. Porcelain Countertops: Which Holds Up Best?.
| Countertop Situation | Backsplash Height Direction | Why It Often Works |
|---|---|---|
| Simple countertop, standard uppers | Up to the cabinets | Balanced cost, strong wall protection, clean finished look. |
| Dramatic countertop slab with attractive veining | Full height or slab up to the cabinets | Creates continuity and lets one material do the visual work. |
| Budget-focused remodel | 4-inch or selective tile only where needed | Keeps initial cost lower, though style impact may be reduced. |
| Open range wall with statement hood | Full height behind range | Turns the cooking wall into a feature and gives better protection. |
Backsplash height around sinks, ranges, and windows
Some areas of the kitchen matter more than others. Even if you do not choose full-height backsplash everywhere, certain zones deserve extra thought.
Behind the sink
The sink wall is one of the most splash-prone parts of the kitchen. Water, soap, food prep, and daily wiping all happen here. A 4-inch backsplash can work, but in many kitchens a taller backsplash gives better protection and looks more finished.
Behind the range or cooktop
This is usually the strongest case for taking the backsplash higher. Steam, oil, sauce splatter, and heat all make this wall work harder than other areas. A taller tile or slab backsplash is often worth it here even if the rest of the kitchen uses a simpler height.
Under windows
Windows create one of the trickiest backsplash stopping points. The height may need to transition around trim, stool details, and sill materials. The goal is to make the ending look intentional, not accidental. This is where early layout planning pays off.
Open ends without upper cabinets
When one section of the kitchen has no uppers, the backsplash height decision gets more visual. Stopping too low can look abrupt. Continuing to a hood line, shelf line, or another architectural cue often feels more resolved.
How cabinets influence the right backsplash height
Cabinet design and backsplash height are tightly connected. A choice that looks great with one cabinet layout can feel awkward with another.
Standard upper cabinets
When upper cabinets run over most of the counter wall, backsplash to the cabinets is often the most natural fit. The underside of the cabinets creates a clean top stopping point.
Floating shelves
Shelves can make backsplash planning trickier because they do not hide a hard top line the same way upper cabinets do. In many cases, full-height backsplash behind shelves looks cleaner than stopping below them. But the shelf bracket locations and installation sequence need to be planned early.
No upper cabinets
If the wall is open, a short backsplash can look undersized. Full height behind the range or across the entire wall often makes more sense in kitchens with a more open, airy cabinet design.
Cabinet finish and style
Shaker cabinets, slab-front cabinets, inset cabinetry, and heavily detailed traditional doors all change the visual weight of the kitchen. Simpler cabinet fronts often pair well with a more continuous backsplash. More ornate cabinetry may benefit from a more restrained backsplash field so the room does not become visually crowded.
For broader layout planning, see Design and Layouts for Kitchens and Semi-Custom vs. Custom Cabinets: What You’re Really Paying For.
Style matters, but function should lead
Backsplash decisions often begin with what looks best on Pinterest or in a showroom. That is understandable. But real kitchens are used rooms, not stage sets. The best backsplash height is the one that still feels smart after six months of cooking, wiping, and living in the space.
Define what matters most before choosing height:
- Durability: do you want the most wall coverage in high-use zones?
- Maintenance: are you comfortable with grout cleaning, or do you want fewer joints?
- Style: do you want subtle background texture or a dramatic focal wall?
- Budget: where does taller backsplash give the greatest visual and practical return?
- Longevity: will this look feel current for years, not just right now?
Backsplash decision filter
- Choose 4-inch if budget is the top priority and the kitchen style can support a simpler wall treatment.
- Choose up to the cabinets if you want a strong mix of practicality, timelessness, and visual finish.
- Choose full height if you want a higher-end, more custom look and the wall deserves to be treated as a feature.
Tile, slab, and grout considerations by height
Material choice and backsplash height should support each other. The same height can feel completely different depending on whether you use small ceramic tile, large-format porcelain, natural stone, or a slab continuation from the countertop.
Small-format tile
Great for texture and visual detail, but more grout lines mean more maintenance. If taking it full height, think carefully about pattern density and grout color.
Subway tile
Still widely used because it is versatile and familiar. It often works well up to the cabinets, but the final look depends heavily on tile size, finish, layout pattern, and grout contrast.
Zellige and handmade-look tile
Beautiful for adding movement and character. Because these tiles already have variation, they can be especially effective on a contained backsplash field under cabinets. Used full height, they create more visual texture and need thoughtful balancing with the rest of the kitchen.
Large-format tile or porcelain panels
These can work very well for full-height installations because they reduce grout joints and create a more expansive look.
Slab backsplash
Often the cleanest and easiest to wipe down. It works especially well when you want a quiet, seamless finish or when you want to continue the countertop material up the wall.
Practical reminder: more height means more material visibility. A tile or slab that looks beautiful on a sample board can feel very different when it covers a full wall. Always review the material in the context of the kitchen’s cabinet color, countertop pattern, lighting, and hardware.
Common backsplash height mistakes that create regret
Mistake 1: Choosing height before cabinet layout is finalized
Backsplash stopping points should respond to the cabinet design, not fight it. Final cabinet drawings should be reviewed before the backsplash plan is locked.
Mistake 2: Treating every wall the same
Not every part of the kitchen needs the same backsplash treatment. It is common for a range wall to go higher while simpler counter runs stop at the cabinets.
Mistake 3: Ignoring outlet and switch placement
Electrical devices interrupt the backsplash visually. Their locations should be considered before tile layout or slab cuts are finalized. Electrical requirements can vary, so final placement should be coordinated with qualified professionals and local requirements where applicable.
Mistake 4: Overcomplicating the wall with too many materials
If the countertop has strong movement, the cabinets have heavy grain, and the backsplash tile is bold, the kitchen can feel busy fast. Often, one surface should lead and the others should support.
Mistake 5: Using a short backsplash where the wall clearly needs more protection
Behind ranges, prep sinks, and coffee stations, a 4-inch splash can feel inadequate once the kitchen is in daily use.
Mistake 6: Failing to review the exact stop and edge details
How the backsplash ends matters almost as much as how high it goes. Outside edges, return ends, trim pieces, shelf brackets, and hood transitions should all be shown before installation begins.
|
Avoid This
Common issue |
Picking backsplash height from a photo alone without checking cabinet layout, countertop pattern, and outlet locations in your actual kitchen. Stopping tile at awkward points that do not align with cabinets, windows, or architectural lines. Ordering material too early before final measurements and transitions are confirmed. |
|
Do This Instead
Smarter process |
|
Backsplash height planning checklist before you order materials
Use this checklist before tile is purchased or slab pieces are cut:
- Cabinet layout finalized: upper cabinet bottoms, shelf lines, hood dimensions, and any open wall areas confirmed.
- Countertop selected: material, edge profile, and whether a same-material splash is being considered.
- Backsplash height defined by wall: not just “full height,” but exact stopping points for each area.
- Outlet and switch locations reviewed: coordinated with backsplash layout and material cuts.
- Tile layout reviewed: pattern, grout joints, cuts at ends, and centering around focal points checked.
- Range wall addressed separately if needed: especially if more coverage is needed there than elsewhere.
- Window and shelf details reviewed: transitions and exposed edges shown clearly.
- Cleaning and maintenance considered: grout amount, surface finish, and daily wipe-down reality discussed.
- Installation sequence confirmed: countertop templating, slab fabrication, tile install, and electrical trim coordinated.
- Permit and inspection implications reviewed where relevant: especially if electrical changes are involved. Requirements can vary, so confirm details with qualified professionals and local authorities.
How backsplash height connects to the rest of the remodel
Backsplash planning works best when it is not treated as a last-minute finish decision. It connects directly to:
- Kitchen layout: splash-prone zones and focal walls depend on how the space is used.
- Cabinets and countertops: these create the visual lines the backsplash has to respect.
- Lighting and electrical: outlets, switches, and under-cabinet lighting affect material layout and usability.
- Ventilation: range walls often need more protection and cleaner surfaces.
- Budget sequencing: choosing height early helps prevent late material changes and rework.
If you are planning the bigger picture, these resources can help:
- Kitchen Remodel Planning Checklist for Utah Homeowners
- Design and Layouts for Kitchens
- Kitchen Lighting & Electrical Designed for Real Life
- Kitchen Appliances & Ventilation Upgrades in Davis & Weber Counties
- Cabinets and Countertops: Transforming Your Kitchen with the Right Choices
FAQ: backsplash height questions homeowners ask all the time
Is a 4-inch backsplash outdated?
It can be, depending on the kitchen style. In many current remodels, homeowners prefer backsplash up to the cabinets or full height because it looks more intentional and protects the wall better. That said, a 4-inch splash is not automatically wrong if it fits the design goals and budget.
Should backsplash go all the way to the cabinets?
In many kitchens, yes. This is one of the most practical and visually balanced choices. It gives complete protection in the working wall area and usually creates a cleaner, more finished look than a short backsplash.
Should backsplash go to the ceiling?
Sometimes, especially behind a range, hood wall, or open wall without upper cabinets. It can look beautiful when the wall deserves emphasis, but it is not necessary everywhere. The key is choosing stopping points that feel intentional.
Is slab backsplash better than tile?
Not always better, but different. Slab backsplash offers fewer joints and easy cleaning, while tile can add texture, pattern, and more design flexibility. The right choice depends on your countertop, maintenance preferences, and style goals.
Can I do different backsplash heights in one kitchen?
Yes. Many well-designed kitchens use one approach for the main counter runs and a taller feature treatment behind the range. The goal is cohesion, not forced uniformity.
When should backsplash height be decided in the remodel process?
Before materials are ordered and ideally before final countertop and electrical coordination. Waiting too long increases the chance of awkward transitions, rushed selections, or costly changes.
Final thoughts: choose the height that makes the whole kitchen feel resolved
A backsplash should do two things well: protect the kitchen and make the design feel complete. For some homes, that means a straightforward splash up to the cabinets. For others, it means a dramatic full-height slab behind the range. And in a few cases, a 4-inch backsplash still makes sense when the design and budget point that way.
The important thing is to decide based on the kitchen as a whole. Think about durability, storage, style, countertop selection, cleaning effort, cabinet layout, and the spots where daily life is hardest on the walls. When backsplash height is coordinated early, the result feels calm, deliberate, and built to last.
Want a second set of eyes on your kitchen plan before you order materials?
If you are weighing 4-inch, full-height, or up-to-the-cabinets backsplash options, Fortress Builders can help you evaluate the decision in the context of your full kitchen remodel—not as an isolated finish choice.
Request a Design Consult Explore Kitchen Remodeling Browse Remodeling Resources
If you want a second set of eyes on your plan, schedule a consultation before ordering materials or starting demo. That is often the simplest way to avoid awkward transitions, unnecessary costs, and decisions that look better in a sample than they do in a real kitchen.